
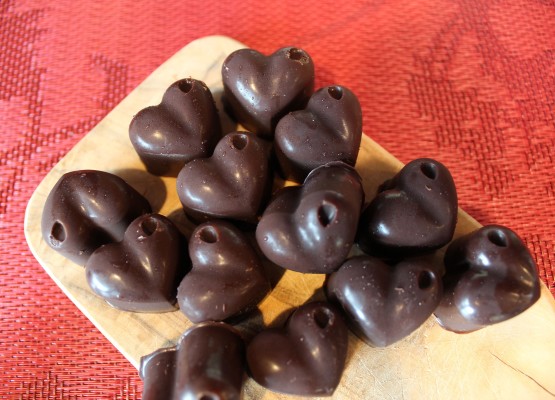
Homemade Valentine’s Truffle Chocolates
18
 0
6 February, 2015
0
6 February, 2015
These very easy homemade Valentine’s truffle chocolates can offer you a healthier way to enjoy chocolate at the holidays! They are made with simple ingredients and are fun to experiment with. Be creative with this recipe! You can omit the peppermint to make a nice dark chocolate. Experiment with using orange extract, maple extract, nuts, seeds, coconut, and other goodies.
Enjoy, guilt-free!
Ingredients:
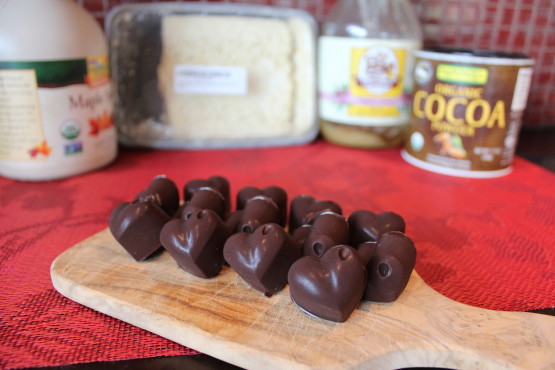
220g Organic Raw Cocoa Butter (or about 7.85 oz)
½ cup plus 2 tablespoons Organic Cacao Powder or Organic Cocoa Powder
¼ cup plus 1 tablespoons raw honey or pure maple syrup (I use a combination of about half and half so that there isn't a strong honey or maple syrup flavor)
1 teaspoon organic peppermint extract (you can omit this to make a basic dark chocolate)
1 Small pinch of Real Salt (great for brining out all of the flavors)
Instructions:
Use a small kitchen scale to measure out the cocoa butter. In a double boiler or small pan over another pan filled with water, melt the raw cocoa butter over very low heat. I use a cast iron skillet with a glass Pyrex bowl and I place two chopsticks at the bottom of the cast iron skillet to keep the Pyrex bowl off direct heat.
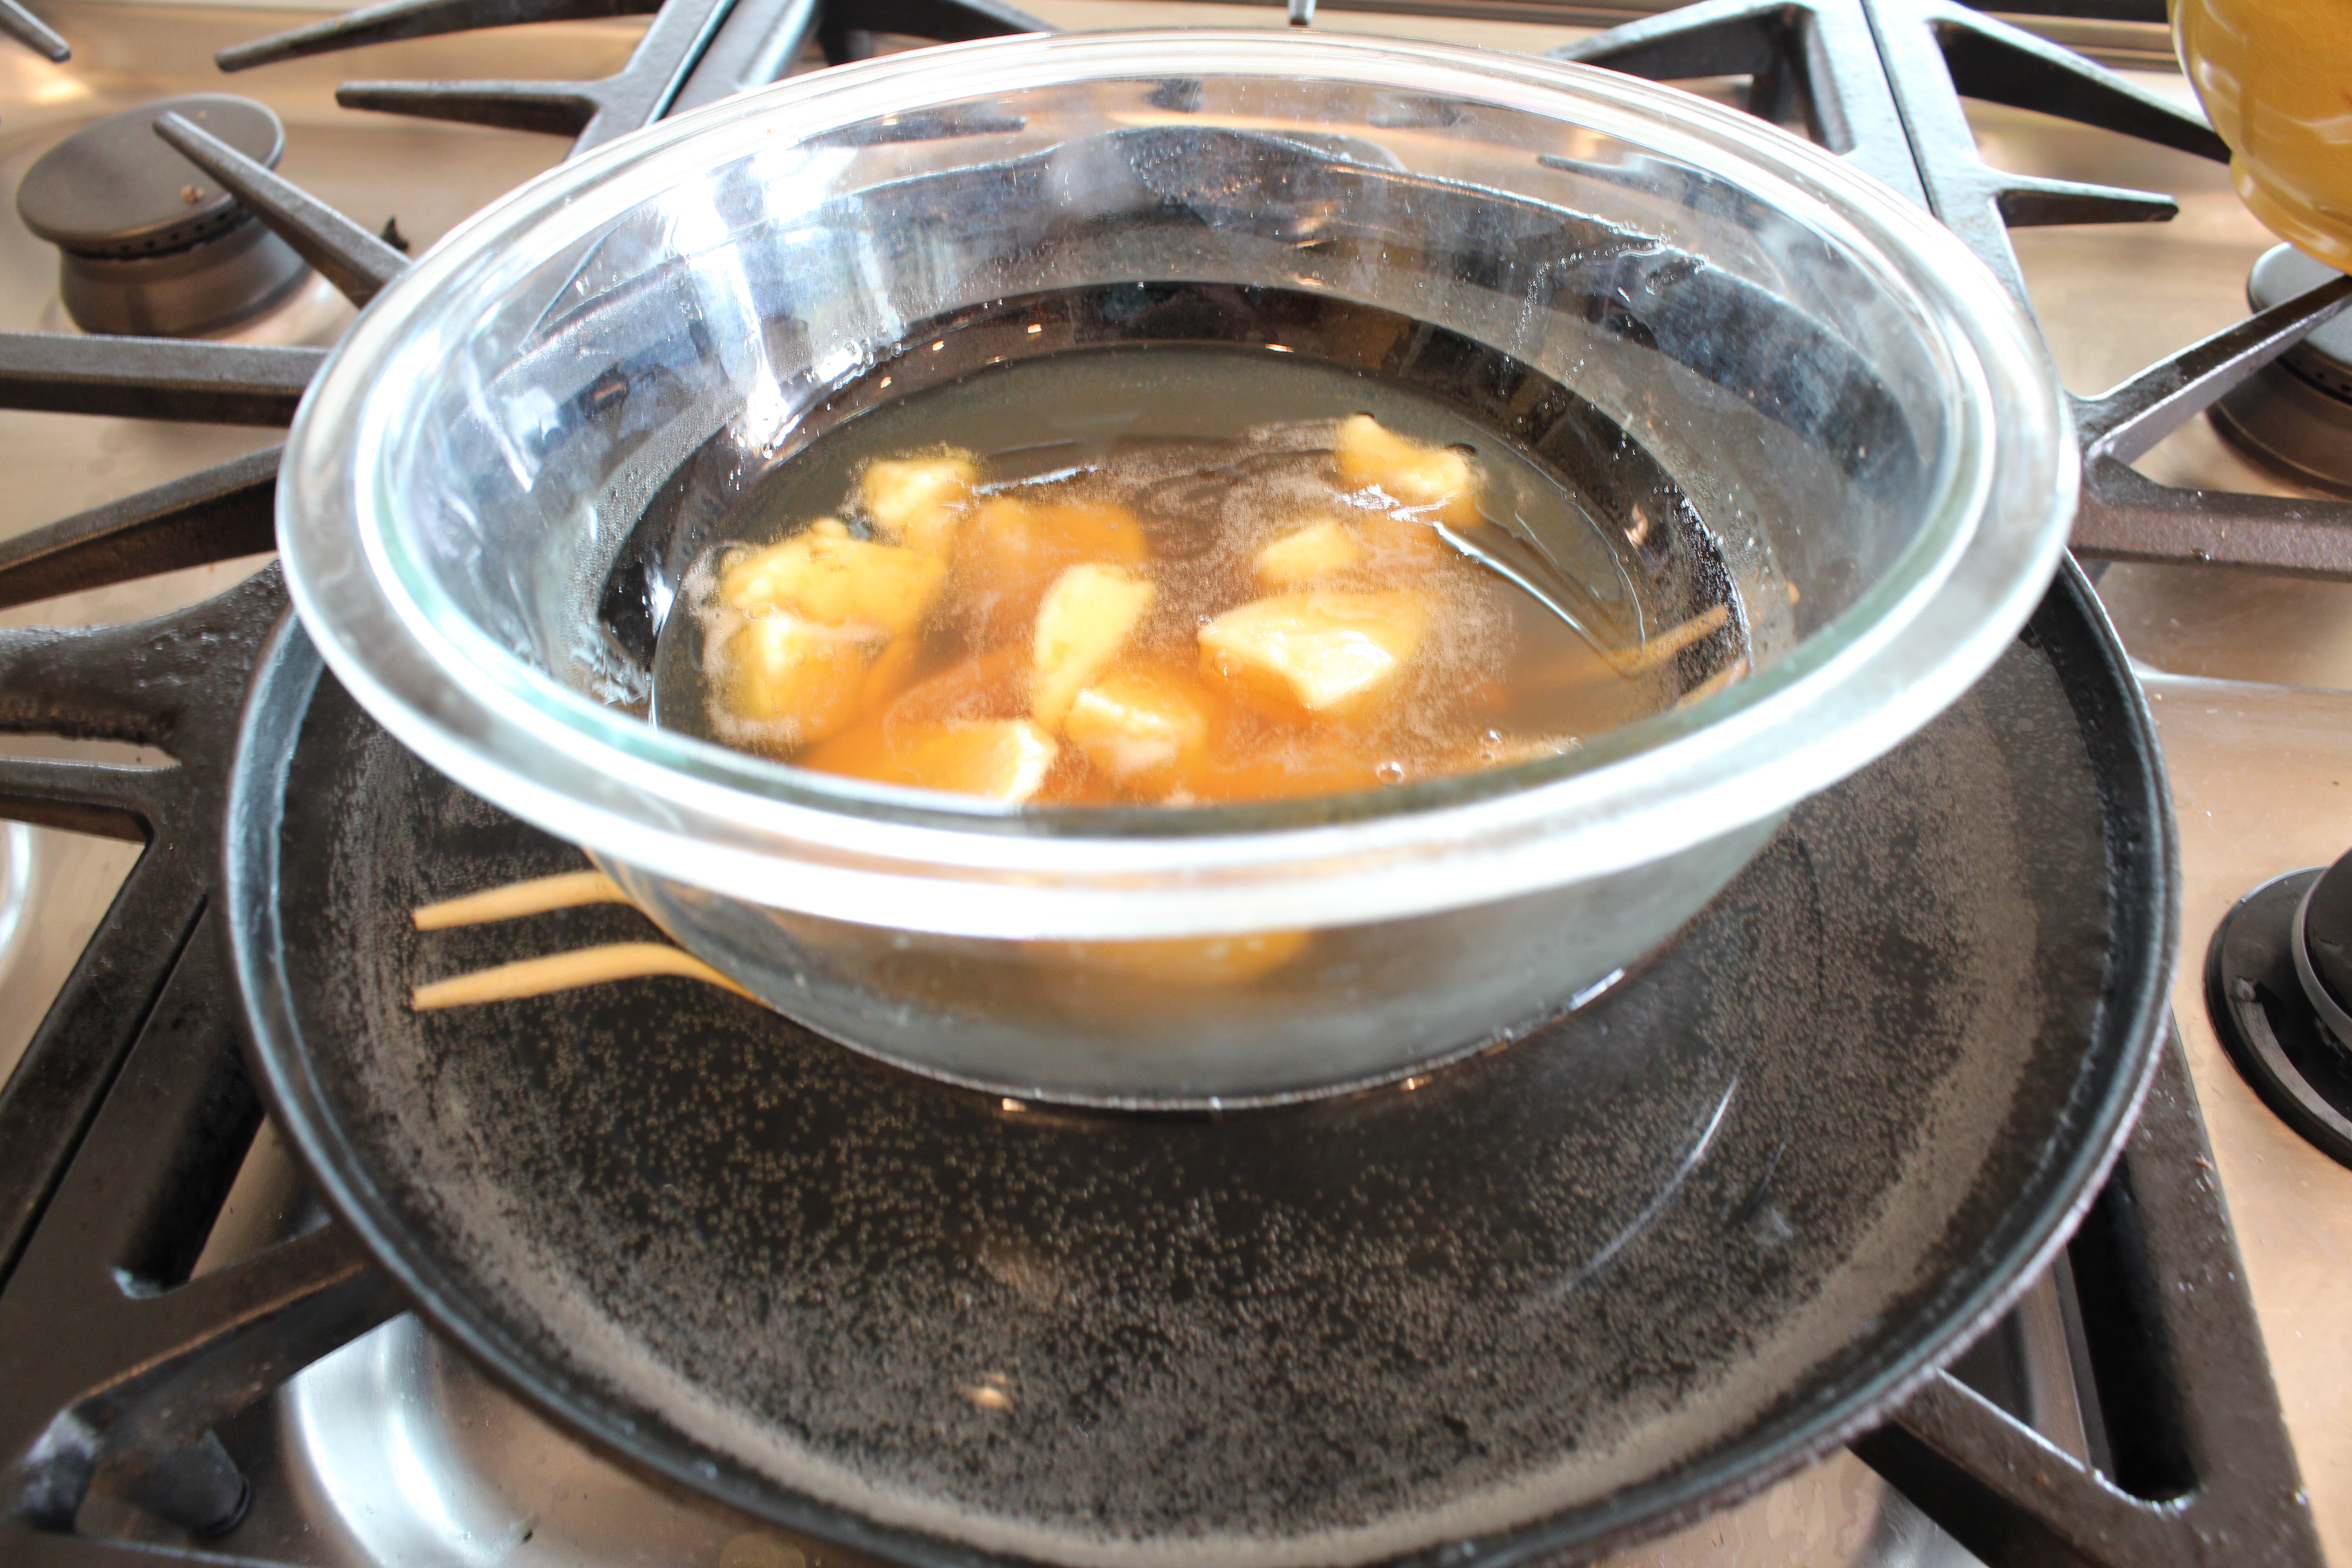
Melt the cocoa butter and salt gently while stirring until liquid consistency. Then add the cocoa powder slowly. I add 1/4 of the cocoa at a time and get it completely dissolved before adding more. Continue stirring gently to combine. Keep the heat low so the mixture does not bubble. Once the mixture is combined, there may still be small clumps of cocoa powder and these need to be blended. I use an inversion blender but you could also use a whisk or beater. Blend to a smooth consistency and then add the honey and/or pure maple syrup. I like to taste the chocolate syrup at this step to see how "bitter-sweet" my chocolate truffles will be. Some people may want a bit more honey or maple syrup. I like them right in between being sweet and bitter!
Once your mixture is thoroughly combined, remove from heat and allow to cool for a few minutes. The mixture is best and easiest to pour when it is still runny, but not as hot as when on the stovetop. Add the peppermint extract and stir gently to combine and now you are ready to fill your silicone molds. Place your molds on baking trays so they are easy to transfer after pouring. I like to pour my mixture into a stainless steel milk steamer as I feel like it pours the best into the molds. You can also use a measuring cup that has a small pouring spout. Pour gently into silicone molds, making sure to fill nearly to the top as the mixture will sink slightly when chilled. Don't worry if you over fill some as the chocolate can easily be peeled off the edges after it's chilled. You can gently swirl the cup to keep the mixture well combined in between pouring into the molds. If you feel like this process is messy for you and your chocolate mixture is running down the side of your pouring cup, then use a napkin or paper towel to wipe the side of the cup between each pour. This can help a lot!
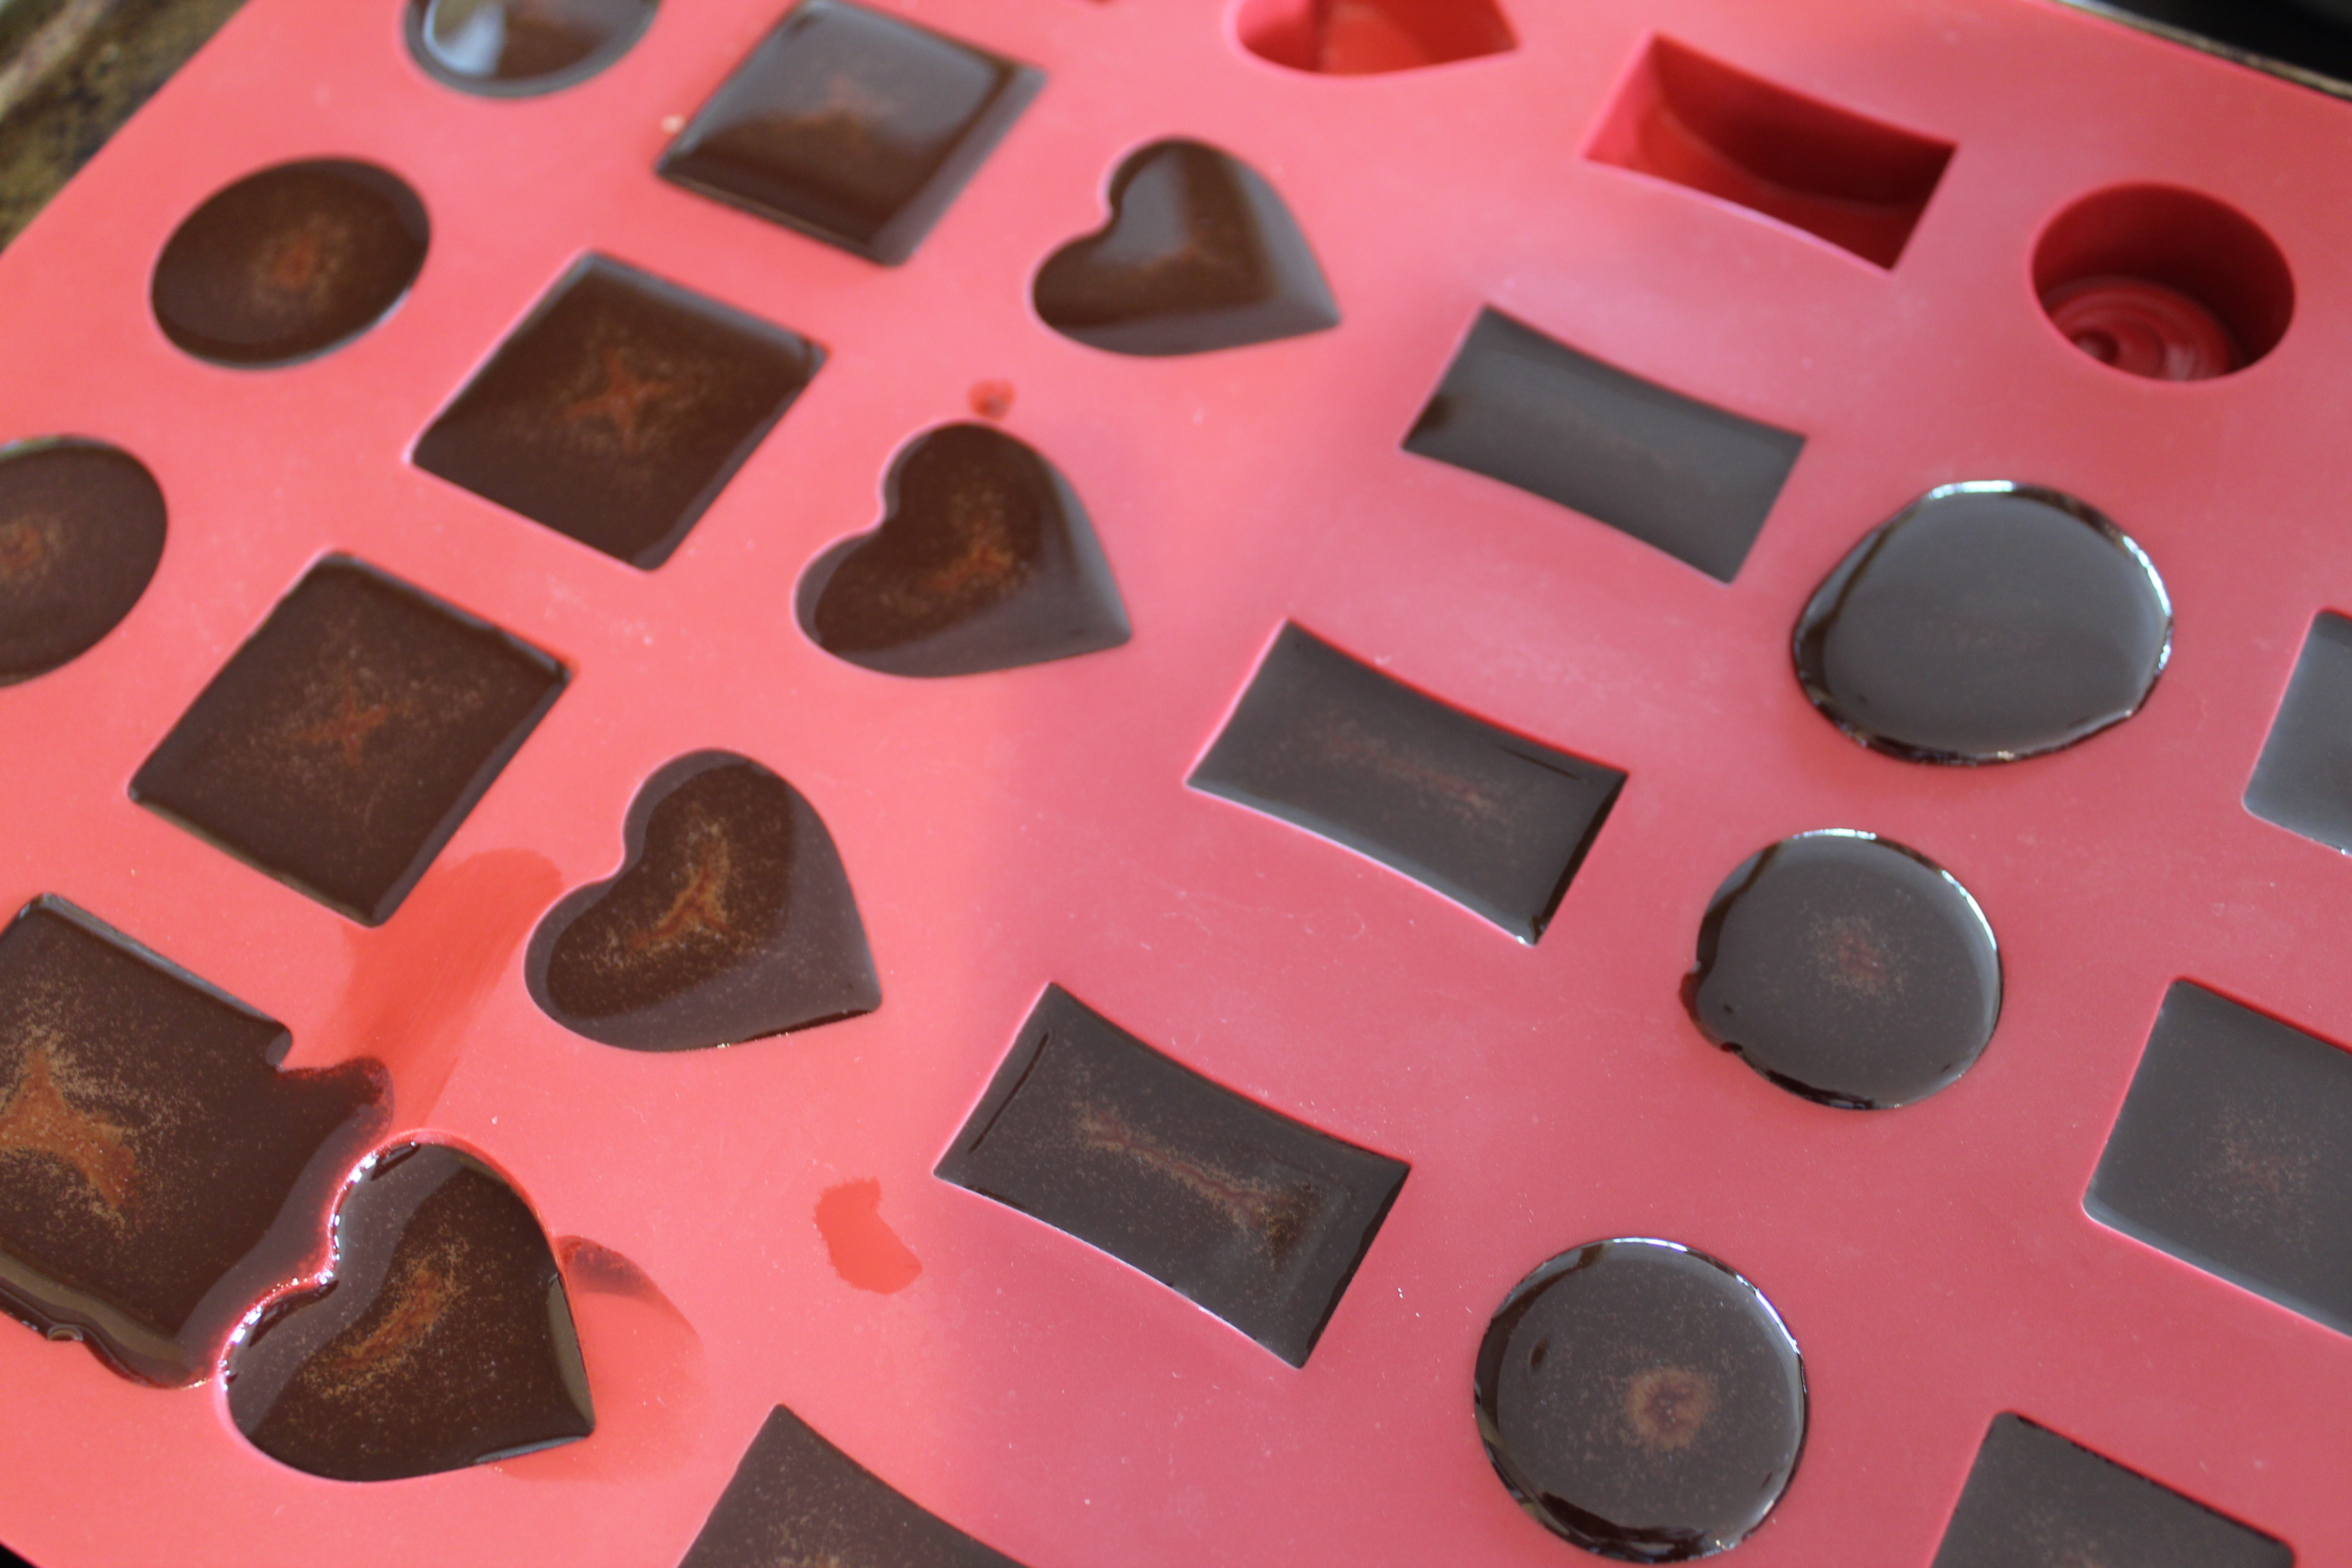
Once you have filled your molds, transfer the baking sheets to the freezer for about an hour.
Then pop the chocolates out onto a clean surface by flipping over your molds and pushing on the chocolates from underneath. They should come out clean. If they don't, transfer the mold back to your freezer and freeze for a bit longer before trying again.
Then transfer your truffle chocolates into airtight containers and store in the refrigerator.
Enjoy!


